
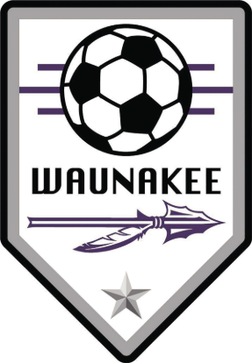
This is my key chain I made for Idea. It is the Waunakee high school boys soccer logo. To make this key chain I had to use Illustrator on the computer. Illustrator is a computer tool used to make 2D objects. Illustrator can make projects for the laser cutter to cut or engrave. In this project we printed key chains.
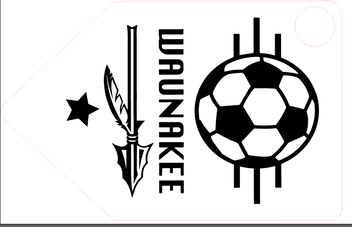
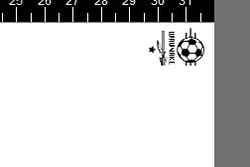
 This is the picture I choose that I wanted the laser cutter to print.
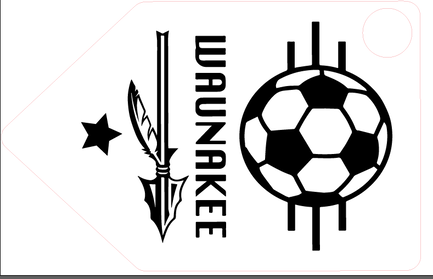
This is the picture I choose that I wanted the laser cutter to print. It is the waunakee boys soccer logo.
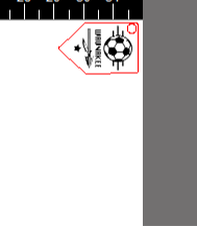
This is my sketch for the key chain project. There is a very small line that is red around it and circle that is also red and very small. The small red lines will tell the laser cutter to cut. The black lines will be engraved in the the key chain.
This is my key chain in the ucl computer tool. This is how you tell the laser to print your project.
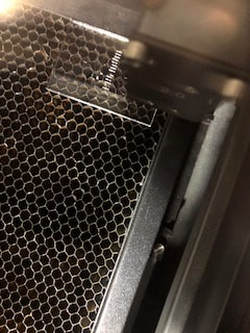
This is the laser cutter engraving my project at the start. It finished the star the word Waunakee and now it is printing the soccer ball.
This is my project in the UCL tool on the computer while my project is printing. It is at about the same time as the picture above.
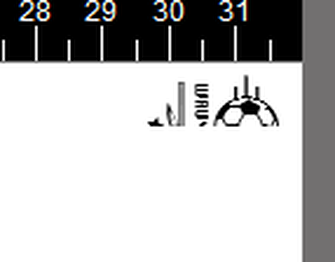
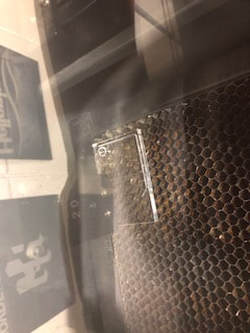
Now the laser is cutting the key chain hole out.
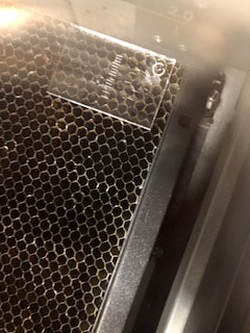
Now it is cutting the out side of the key chain.
This is my key chain in the UCL tool. It is around the same time of the picture above.
The laser is now getting close to the end and it just has half the outside to cut.
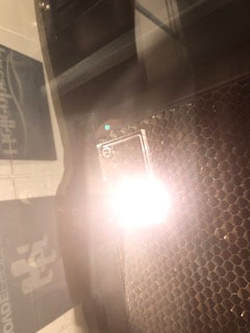
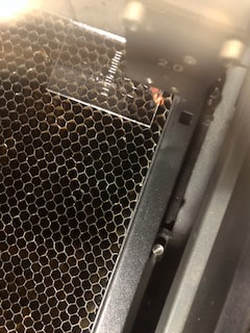
This is the cutter getting closer to the end and a spark shot up.
The laser is at the very end of cutting.
This is my key chain in the UCL tool after it is done printing.
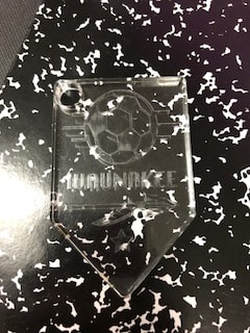
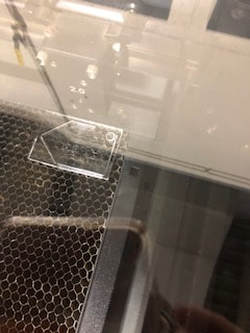
This is my final product. The hole on the top got bent a little because on my drawing the hole was too close to the edge. But overall it was successful.
Summary Keychain
In this project I learned how to use Illustrator and print using a laser cutter and a vinyl cutter. I learned how to use inventor for laser cutting and how to set it up to print.

Another thing we did with inventor was a vinyl project. I created my name to put on my designer notebook.


Above it the process of my vinyl project. The pictures show my name on the computer getting ready to print. Then I am printing it on the vinyl cutter. We were originally going to make it red but then we thought it would get confusing with the other classes. Then I am putting my name on my notebook. To put the vinyl on you have to follow an order.
1. Pull the background off the back
2. Put transfer tape on your project and push down with squeegee
3. Pull the back off of your project
4. Put the piece on your surface
5. Push down with squeegee
6. Peel of transfer tape
Finally I was done.
1. Pull the background off the back
2. Put transfer tape on your project and push down with squeegee
3. Pull the back off of your project
4. Put the piece on your surface
5. Push down with squeegee
6. Peel of transfer tape
Finally I was done.
Summary Vinyl
I learned how to use Vinyl and Illustrator in this project. I got to learn how to print a vinyl and put it on a surface in this project.
