
Research in Designer Notebook
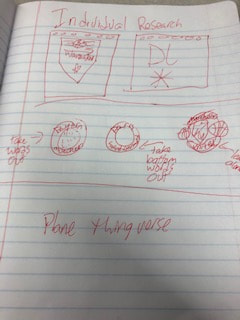
Above is my research page where I drew out what I was going to make.
Water Bottle Project
Above shows my process through my water bottle laser project in pictures and the pictures have captions.
Below is a time lapse of my water bottle printing.
Below is a time lapse of my water bottle printing.
Recipe
First in this project I had to find my pictures to put on my water bottle. I chose some of my favorite teams in the world in soccer. Next I had to convert them into illustrator and set it up. After I put them all together and in the right format I was ready to print. I went down to the printer and took a water bottle and set it up on the computer. Then I put my water bottle in the holder in the laser cutter. Then I hit play and it was almost done. Finally after it was printed I put the cap on and I had my final product.
Notebook Project
Above is my process through the notebook project.
Recipe
The first thing I did was find my pictures I wanted to put on the right size notebook cover and back cover. Then I formatted it correctly and I was ready to print. I set it up on the printer by the laser cutter and I pressed play. Then I hole punched the covers. I had to measure out the pages to the correct size so I measured then I cut them. Next I hole punched the pages and took a coil. I put the coil through the holes and bent the edges so the papers and covers would stay together. Then I had my final product.
Thingiverse Project
Above is the process of my thingiverse project through pictures.
Recipe
First I downloaded the project that I liked on thingiverse. Then I made sure the dimensions were correct. Then I went down to the laser and printed my project. Then I put it together. After I put it together I had my final product.
Summary
I learned from this project how to use illustrator better and how to use the laser. This all gave me a better understanding on how to use a laser cutter when I need to in the future.
